A

AI Acrylic Stand Maker

🎭 For Cosplayers, Underground Idols & Creators|Free Sample Production Here →
Sheet 127×89mm · Thickness 3mm · 300dpi Output

Create an acrylic stand or acrylic photo from your picture. Our AI automatically cuts out people and pets (dogs, cats, etc.), and combines the tabbed panel, name plate, and base into a single print-ready file. Your photo is processed entirely in your browser.

Easy Step-by-Step Creation!

  1. 1Upload
    Photo
  2. 2Edit
    Cutout
  3. 3Layout &
    Settings
  4. 4Preview &
    Order
Your preview will appear here once you choose a photo

✏️ Touch Up Cutout (erase while viewing the image above)

First select “🧽 Eraser,” then trace over unwanted areas with your finger to erase them (nothing is erased unless you select it). If you erase too much, trace with “↩ Restore” to bring it back. For fine details, zoom in with “🔍 Zoom” first, then use “Move/Zoom” to drag with your finger and adjust the position.
How to Make One

✨ “AI Photo Conversion” (Free) — Turn Your Photo into Anime, 3D, or Acrylic-Stand Style

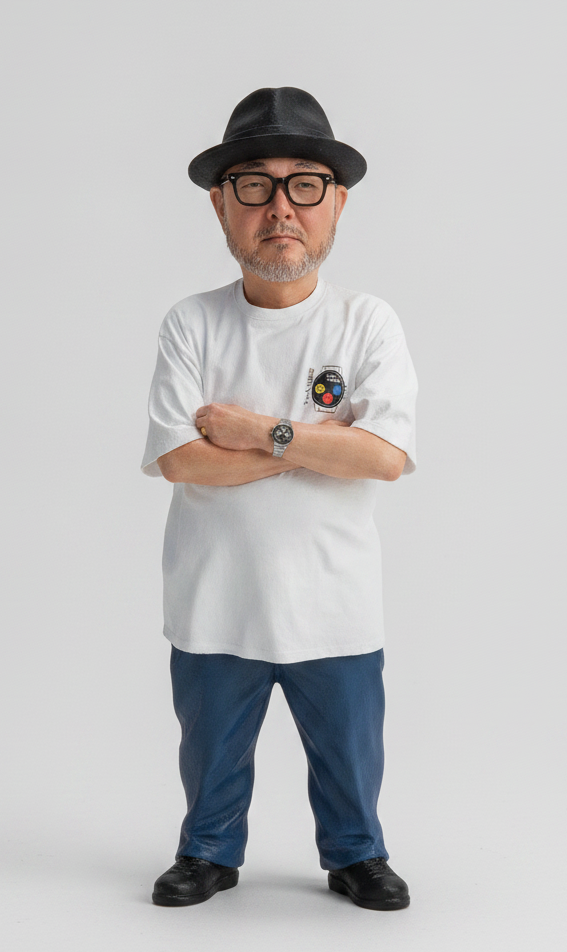
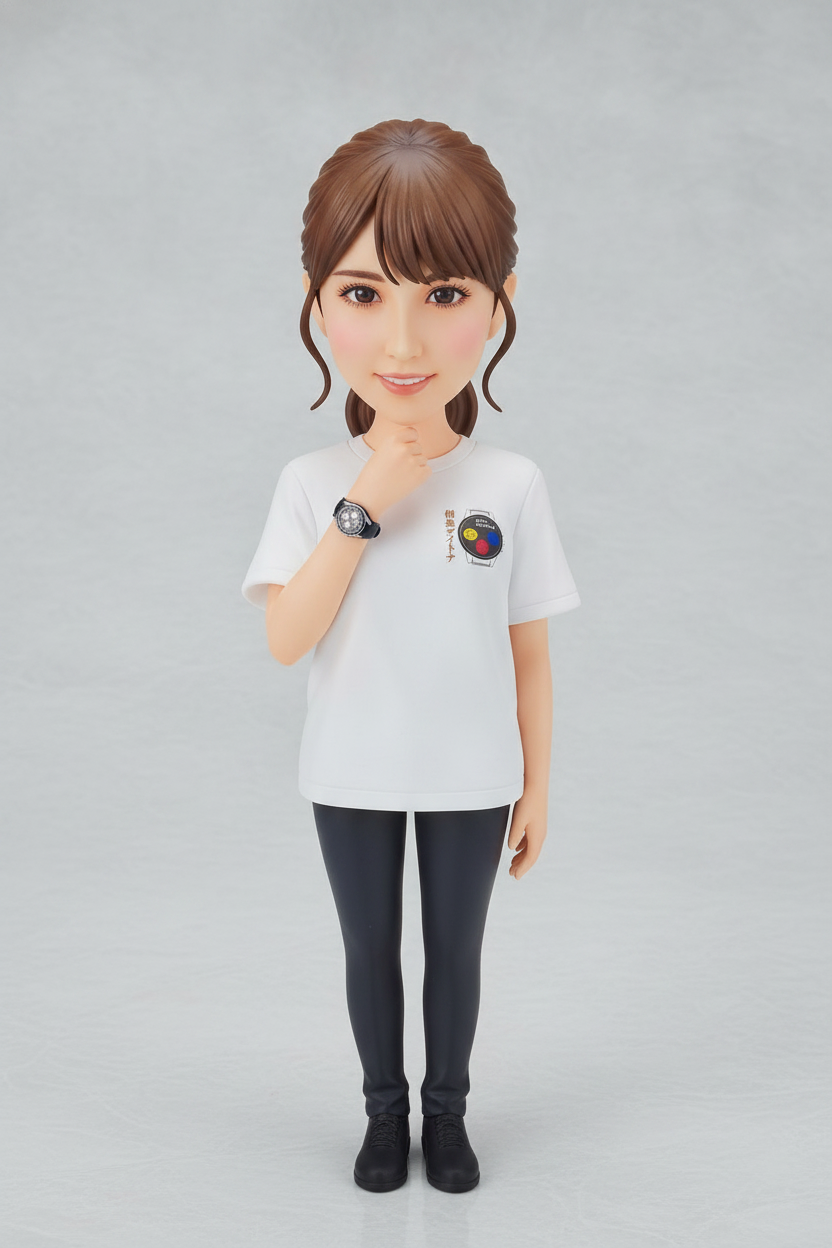
In addition to using your photo as-is, it’s also popular to first convert it with AI Photo Conversion (Free) into a “3-head-tall acrylic-stand style,” then make your acrylic stand from that image. Below are examples of photos converted to “3-head-tall acrylic-stand style.”

Example 1: photo converted to 3-head-tall acrylic-stand style
Example 1
Example 2: photo converted to 3-head-tall acrylic-stand style
Example 2
Example 3: photo converted to 3-head-tall acrylic-stand style
Example 3
Open AI Photo Conversion →

Just choose a photo, decide whether to cut it out, and save. You can create one on a computer or a smartphone.

  1. 1

    Choose a Photo

    Choose a photo where the person or pet (dog, cat, etc.) is clearly visible. Photos straight from your smartphone’s camera roll work fine. The simpler the background, the cleaner the cutout.

  2. 2

    Choose Cutout Style

    You can choose between With Cutout and No Cutout. Just switch with the button, and you can redo it anytime.

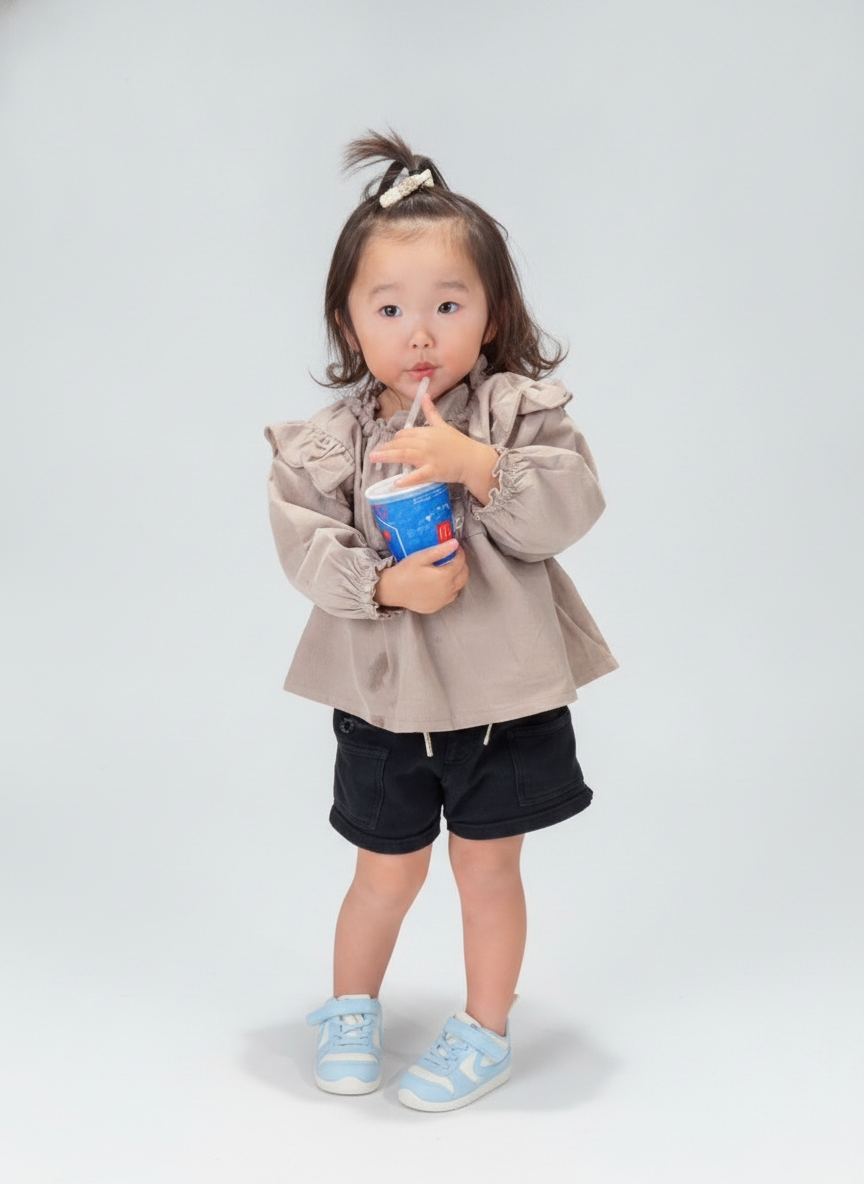
    With Cutout creates what’s typically called an acrylic stand, cut along the shape of the person or pet (dog, cat, etc.). Just press “🎯 Cut Out with High-Precision AI” to remove the background. If the background is a solid color, you can also remove it with the “Eyedropper.” For fine details, trace with the “🧽 Eraser” to adjust, and if you erase too much, restore with “↩ Restore.”

    No Cutout turns your photo into a rounded-corner acrylic plate. No cutout operation is needed. The plate is sized to the maximum in either portrait or landscape, and your photo is initially placed in the center of the plate (depending on the photo’s shape, there may be some margin around it, but that’s fine as-is). Use the “Zoom” slider or drag the preview (or the large arrow buttons) to enlarge and position the part you want to show. This is great for photos where you want to keep the background, such as landscapes, pets, or group photos.

  3. 3

    Adjust the Base & Name Plate

    Adjust the base size (Small/Medium/Large, default is Medium) and the white border (1mm+). The insertion tab and slot are fixed at 15mm. Both the subject and the name plate each have one tab. The base has slots: one in front for the subject, and one or two in back for the name plate (Medium/Large have 2 slots, Small has 1). When there are 2 slots in back, the name plate can be inserted into either the left or right slot. The name plate is mounted vertically with horizontal text, and you can choose the name, font (5 types), and text color. Up to 15 characters per line, up to 2 lines, with the size adjusting automatically based on character count.

  4. 4

    Adjust the Size

    By default, it’s automatically placed at the maximum size that fills the sheet (the orientation automatically switches to whichever shows it larger). Only lower the “Subject Scale” slider if you want to make it smaller. The estimated finished size and resolution are displayed.

  5. 5

    Save Your Data (Optional)

    Use “Save Print PNG (300dpi, Transparent)” to keep a copy of the image. Saving is not required (your print data is automatically sent when you place your order). On smartphones, press and hold the image to save it.

  6. 6

    Place Your Order

    Pressing “🛒 Proceed to Checkout” automatically sends your print data and takes you straight to checkout (entering your customer information). You can place an order even if you haven’t saved your data.

Tips for a Clean Finish

  • Choose a photo that’s as bright as possible with a simple background.
  • A warning appears if the finished resolution is under 300dpi. Larger photos give a cleaner result.
  • Check “Sheet Layout (Print Preview)” to see exactly how it will be cut.
  • If the cutout doesn’t work well for a photo, choose “No Cutout” to keep the whole image, background included.

Examples

Cut out the person or pet (dog, cat, etc.) from your photo to make an acrylic stand with a name-plate base. You can also skip the cutout and make a rounded-corner acrylic photo plate (centered) instead. Perfect for celebrating your favorite idol, family, couple, or pet — and great as event or shop novelties and keepsakes.

What You Get on One Sheet

Order & Contact

Please save your completed print data (print PNG) and send it as an attachment to the email address below. We’ll reply with a quote and delivery schedule.

Contact via Email

shop@photo-cross.jp

  • Please attach your print data (the saved print PNG).
  • Please include your name and the quantity you’d like.
  • Please add any preferences for the finish (size, font, color, etc.) if you have them.
  • After reviewing the details, we’ll reply with a quote and delivery schedule.